When you create an EC2 instance in AWS, it automatically tries to place the instance such a way that all of your instances are spread across underlying hardware to minimize any correlated failures, what this means is, if an instance is failed due to some underlying hardware issue, for example it failed due to a network fault, it is very much likely that other instances on the same network are likely to fail as well. You can use PlacementGroups to address this issue.
Depending on how you are using EC2 instances, there are types of strategies that you can choose and implement.
- Cluster Strategy
- Partition Strategy
- Spread Strategy
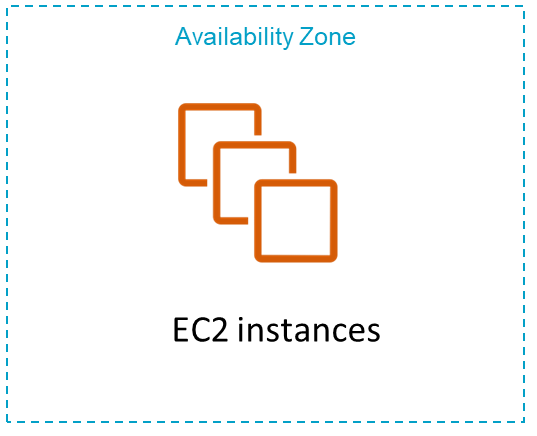
This strategy puts your EC2 instances close together within an AZ (Availability Zone). This strategy helps to achieve low-latency, high throughput performance if your application need to share data across each other EC2 instance nodes.
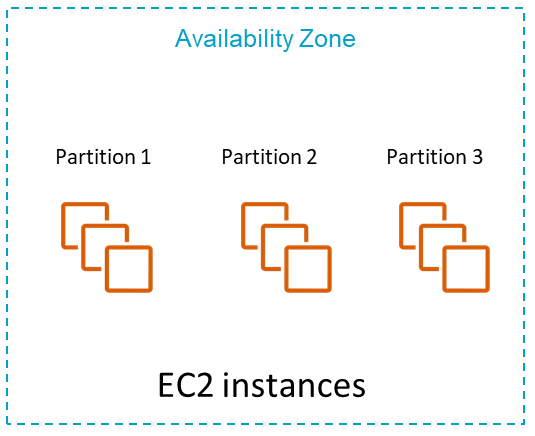
This strategy puts your EC2 instances in a 'logical partition' such a way that instances in one partition does not share hardware with instances in other partitions.
This strategy puts your EC2 instances such a way that, it strictly places smaller number of instances across distinct hardware.
Cluster PlacementGroup strategy overview Partition PlacementGroup strategy overview Spread PlacementGroup strategy overview Rules and limitations How to create a PlacementGroup
- In cluster placement group strategy, a group of EC2 instances will be placed within a single AZ (Availability Zone).
- A cluster placement group can span peered virtual private networks (VPCs) in the same Region.
- Instances within the same cluster placement group can benefit from low network latency, high network throughput, or both.
-
This strategy is recommended for applications where majority of the traffic is between the nodes,
and you can choose an EC2 instance type that supports enhanced networking.
See
Enhanced Networking for more details on enhanced networking in AWS. - AWS recommends that you launch your instances in the following way:
- Use a single launch request to launch the number of instances that you need in the placement group.
- Use the same instance type for all instances in the placement group.
Reason for this is that, when you create instance it tries to place all your instances in the same hardware that suits your needs, but if you try to add more instances to the placement group later, or if you try to launch more than one instance type in the placement group, you increase your chances of getting an insufficient capacity error.
Key points to remember
- If you stop an instance in a placement group and then start it again, it still runs in the placement group. However, there is a chance that the start may fail if there isn't enough capacity for that EC2 instance.
- If you receive a capacity error when launching an instance in a placement group that already has running instances, stop all of them in the placement group, and try starting them again. Starting the instances may migrate the instances to a hardware that has capacity for all of the requested instances.
- When you use partition placement groups, AWS divides each group of instances into logical segments called partitions.
- AWS ensures that each partition within the placement group has its own set of racks, and each rack has its own network and power source. This will allow you to isolate any hardware failures in a partition will be limited to that partition.
- Partition placement group can have partitions across different AZs (Availability Zone) within the same region, and a partition placement group can have a maximum of seven partitions per Availability Zone.
- This strategy also offers visibility into partitions, such as you can see which instances are in which partitions. This information can be shared with topology-aware applications, such as HDFS, HBase, and Cassandra. These applications use this information to make intelligent data replication decisions for increasing data availability and durability, so this strategy is ideal to deploy these large distributed and replicated workloads, across distinct racks.
Key points to remember
- If you try to start or launch an instance in a partition placement group and there is insufficient unique hardware to fulfill the request, then the request will fail. AWS makes more distinct hardware available over time, so you can try your request again later.
- A spread placement group is a group of instances that are each placed on distinct hardware.
- This strategy recommended for applications that have a small number of critical instances that should be kept separate from each other.
- Launching instances in a spread level placement group will reduce the risk of simultaneous failures that might occur when instances share the same hardware. Spread level placement groups provide access to distinct hardware, therefore it is suitable for mixing instance types or launching instances over time.
Rack spread level placement groups
A rack spread placement group can span multiple Availability Zones in the same Region. For rack spread level placement groups, you can have a maximum of seven running instances per Availability Zone per group.
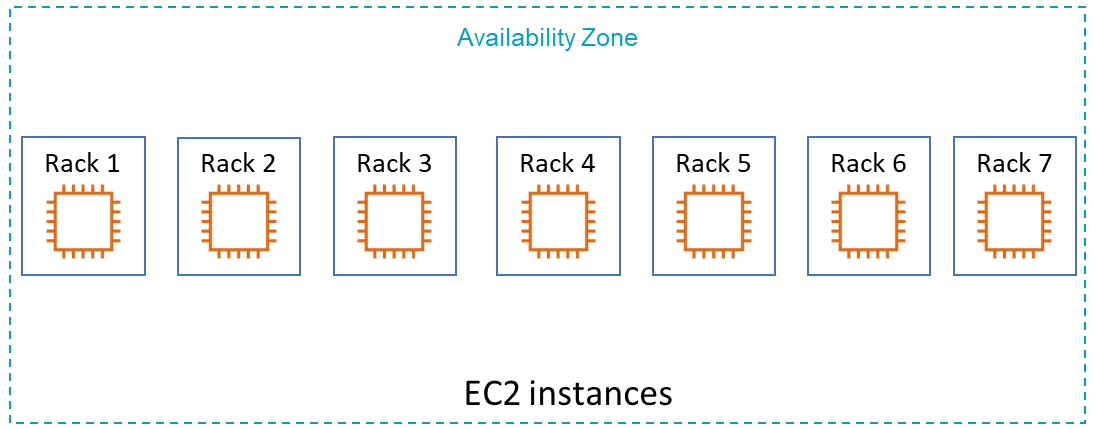
The above image shows seven instances in a single Availability Zone that are placed into a spread placement group. The seven instances are placed on seven different racks, each rack has its own network and power source.
Host level spread placement groups
Host spread level placement groups are only available with AWS Outposts.
For host spread level placement groups,
there are no restrictions for running instances per Outposts.
For more information, see
There are certain rules and limitation on each type of PlacementGroup, details can be found here
General Rules and Limitations
- The name you specify for the PlacementGroup must be unique within your account in that AWS region.
- There is a limit on the maximum number of 500 placement groups per account per AWS region.
- Merging of placement groups is not possible.
- One EC2 instance can be launched only in one PlacementGroup at any time. It cannot span across multiple placement groups.
- You cannot launch dedicated hosts in placement groups.
-
Use on the below options to open PlacementGroup create wizard from AWS Console.
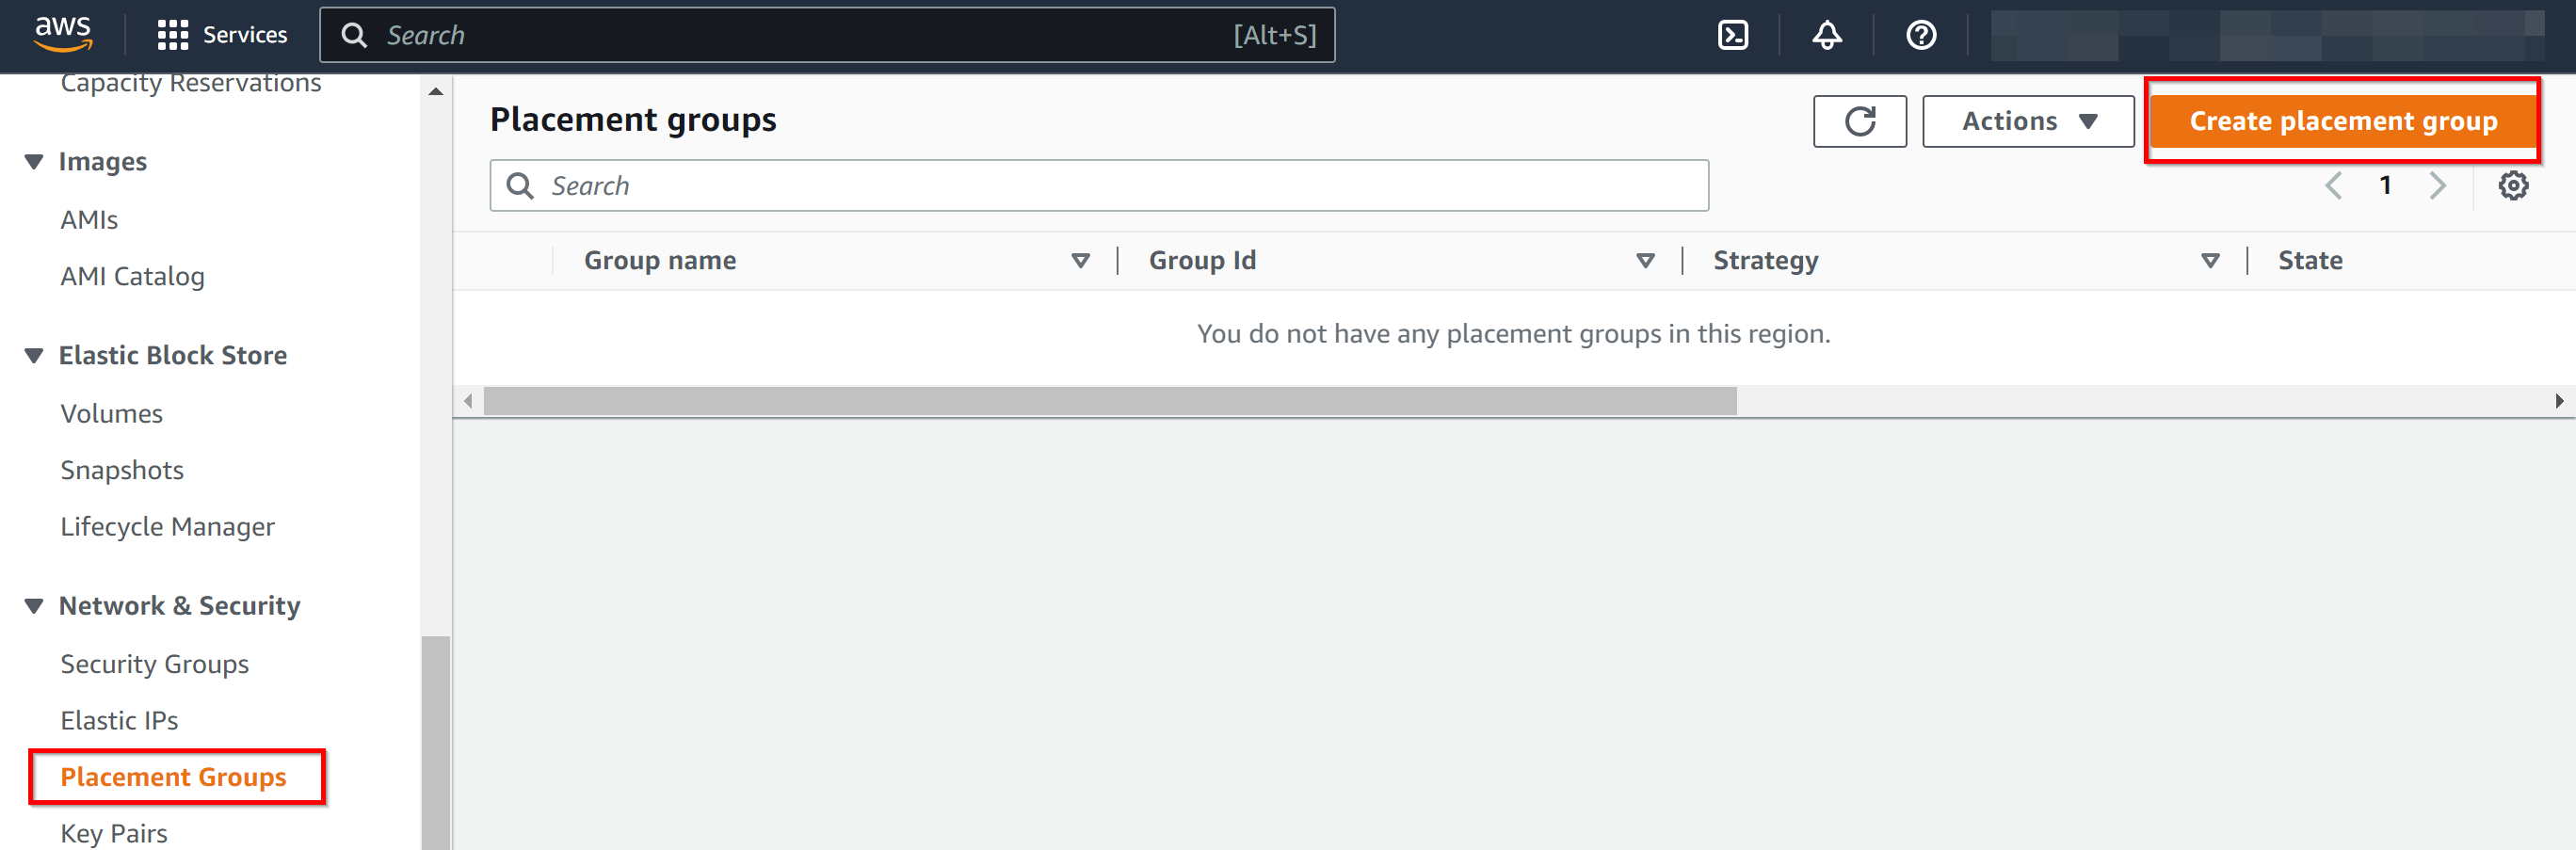
- Search for Placement groups on the search bar, and click on the link
Placement groups appears under Features (EC2 feature). - From EC2 dashboard console, navigate to Placement Groups under Network & Security.
- Search for Placement groups on the search bar, and click on the link
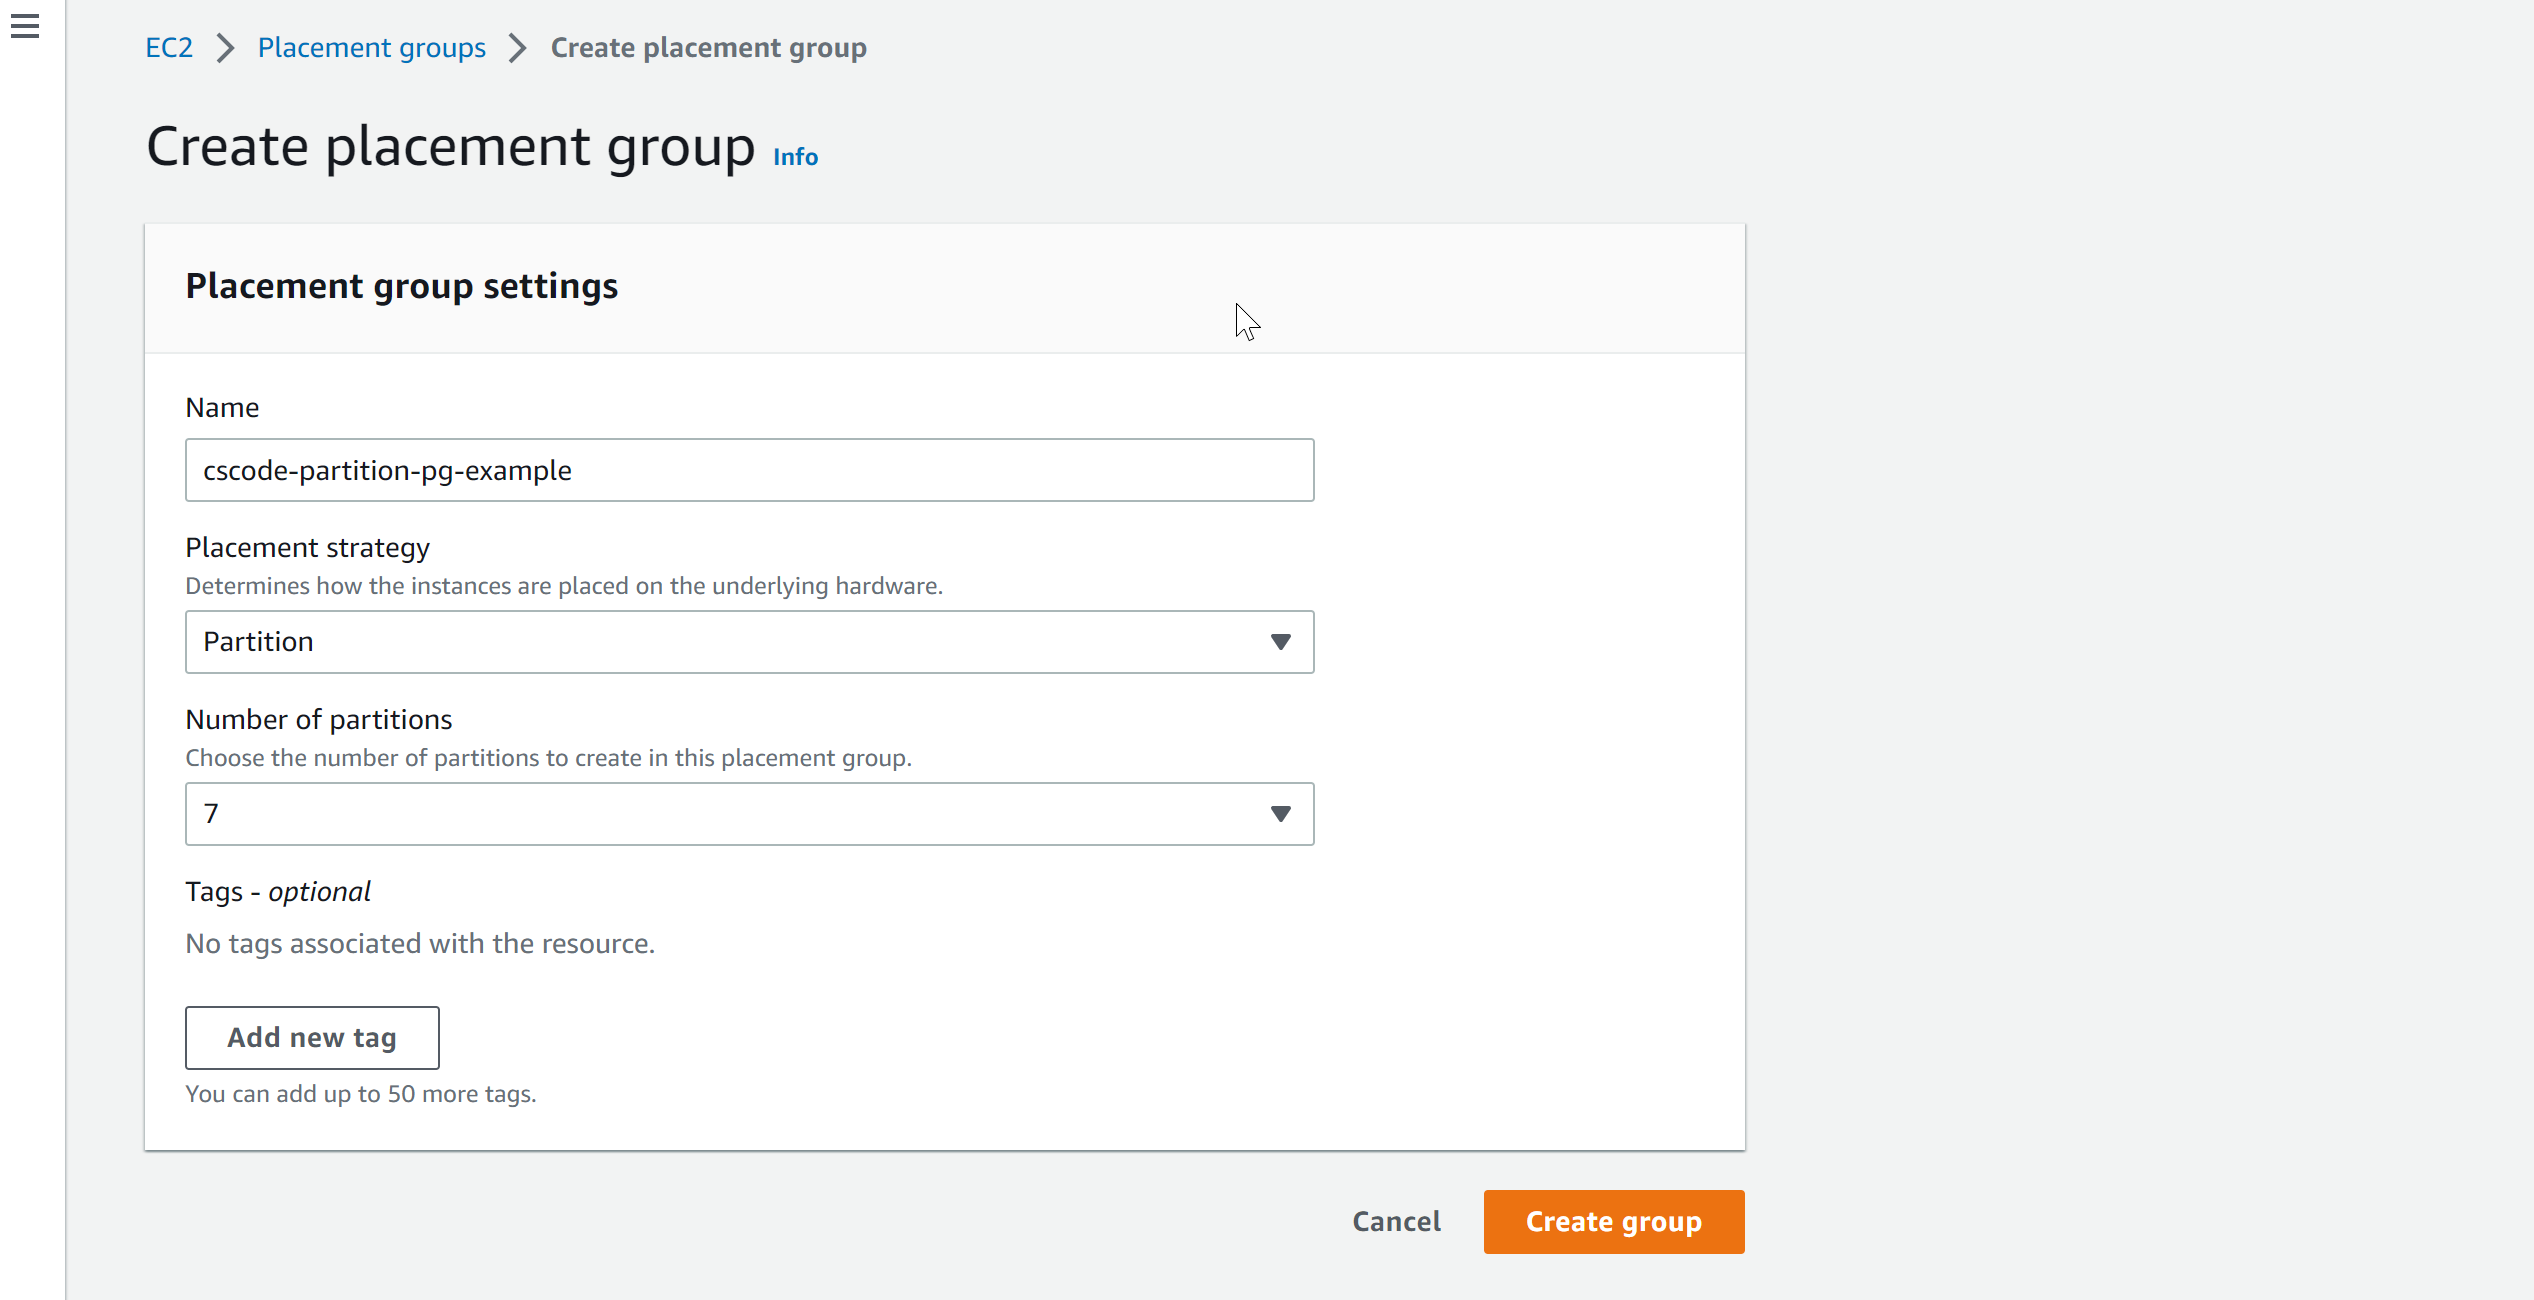
- Once you are at Placement Group section, click on Create placement group, then enter a Name for the placement group and choose a strategy that you want.
- In the next screen, you will be asked to enter a name for your placement group and choose one of the strategy that fits your needs, and based on the strategy you choose, it then asks you to enter few more details. In this example, we have chosen a partition placement strategy and you also have to specify number of partitions that you want.
-
Then click on Create group. Now you can
Select PlacementGroup in EC2 create wizard when creating them.